Getting Started
Jar and Lid Preparation
Before I start posting recipes, I am going to give you the basic instructions for safe and effective canning. Remember, all it takes is common sense, following some basic rules, and a little bit of time! Canning is easy.
When you set out to follow any recipe, the first thing that you need to do is prepare your jars and lids to receive your produce. If you're using jars that you purchased used, or reusing jars that you've used previously, you need to hold them to the light and check carefully for cracks and chips. Gently run your finger around the rims and threads of the jars to check for chips. (Please be careful doing this because broken edges are sharp.) If a jar is chipped or cracked, throw it away.
Now some people claim that they never bother with boiling their jars and lids/rings. They say that all you have to do is run them through the dishwasher on the extra hot cycle. I don't agree with this, but you can make up your own mind. Most canning sites recommend that you put your jars into your water bath canner, cover them with water, and boil them for at least ten minutes. This works very well, and you can even boil your lids and rings at the same time. My Aunt Wilda taught me the basics of canning when I was fourteen, and she sterilized jars a little bit differently. She placed the jars upside-down in about two inches of water inside a metal pan. Then she started the water boiling and allowed the jars to be sterilized by the heat and steam that was generated. Here is a picture of what I mean:


Once your jars and lids are simmering happily away, you can get started on preparing the food that is going to fill them up. Things that need to be peeled, like peaches or pears, should be peeled in advance of putting the jars into the hot water, because this can take a lot of time. This also applies to making things like spaghetti sauce, or enchilada sauces that need to be simmered for a long time. Now is the time to cook your brine, or prepare your jam/jelly, or make the syrup for your fruit.
Canning Fruit
Wash your fruit, and cut out any soft spots or imperfections. I always put my fruit and vegetables in a clean sink, cover them with cold water, and put about a half a cup of white vinegar in with them. This kills pests and germs, takes dirt off admirably, and it also removes any wax that the grocery store may have treated them with. Peel and/or slice your fruit. It is a good idea to put peeled fruit, especially apples, pears, and peaches, into a bowl of fresh, cold water, and add a tablespoon or two of ascorbic acid or Fruit Fresh. Fruit darkens very quickly when exposed to the air, and it takes some time to prepare large quantities of fruit, so definitely plan on keeping the fruit covered with the water and ascorbic acid solution while you're preparing it for canning.
When your fruit is peeled, sliced, and ready, you'll want to start your
jars and lids boiling. Just a note - it's a good idea to leave your
fruit in the largest size pieces that are possible to get into a jar.
This is because you have to boil the jars to seal them, and smaller
slices will get softer during this process than larger pieces. Peaches
and pears should be cut in half. Tomatoes and zucchini should be
quartered, strawberries and other berries should be left whole. Many
fruits, such as apples, can be cut into a variety of sizes depending
upon what you're planning to use them for. For instance, are they going
to be pie filling? If so, then they should be cut into generous
slices. Are they just canned apples? Then they should be halved or
quartered. Are they going to be made into a sauce, such as apple
sauce? Mash 'em!
Fruit is typically canned in a syrup. You can also can fruit using Stevia, or Splenda if you prefer,or you can even can it in just water, but sugar in canned products help to preserve the product, and also helps it to keep it's shape and color. You choose your syrup based upon the amount of sugar you want to add to the fruit, or the "heaviness" of the syrup. Here are three syrup recipes:
1. Heavy Syrup - 4 Cups Sugar, 6 Cups Water. Stir constantly over a medium heat until sugar melts, and then bring to a boil, still stirring, for about one minute.
2. Medium Syrup - 3 Cups Sugar, 6 Cups Water. Same instructions.
3. Light Syrup - 2 Cups Sugar, 6 Cups Water. Same instructions.
Personally, I don't really like most canned fruits and vegetables because they're often very tasteless. I found a way to overcome this problem, though. You add herbs and spices to your fruits and vegetables during the canning process. Depending upon what kind of fruit I'm canning, I add different spices to the syrup. In peaches, for instance, I boil a couple of cinnamon sticks in with each batch of syrup, I put a piece of star anise into each jar, and I also put 1 tablespoon of brandy into the bottom of each jar before I fill it. My peaches get rave reviews, and lots of blue ribbons at the county fair. I strongly recommend that you buy a good book on herbs and spices or find a site on the internet, and look up herb/spice compatibility with the different items that you're canning. You'll be glad that you did. I'll also be adding some excellent recipes to this blog as we go along.
How much syrup are you going to need? That's hard to say, because it depends upon the amount of fruit that you're canning. You may have to make a couple of batches to can all of your product. Now - many people believe that you should "hot pack" your products, which means to cook them even before you put them in the jars. I do not agree with this. I always "cold pack" my fruits and vegetables because I think that they get enough cooking during the canning process, thank you, but it's up to you. If you wish to hot pack your fruit, then go ahead and slide it into the syrup, and allow it to simmer gently for about three minutes.
Now you're going to start packing your jars. Remove the jars, from the hot water bath one by one as you fill them. (I assume that it goes without saying that you're going to have to use protection for your hands while you're doing this?) Pack your fruit into the hot jars. If your packing small fruit, then you just dump it in there, but larger fruit is a little bit trickier since you want to maximize the use of the space in your jars. Here is how peaches should look when they're packed into quart jars:

Finally, you're going to want to clean the rims and threads on the jars. I use a clean paper towel soaked in white vinegar to do this. The vinegar is great because it cuts through salt or sugar like a champ, and it also has some germ killing properties. It is VERY IMPORTANT to make sure that all the gunk is cleaned off of the tops and threads of your jars, because they wont seal properly unless they're clean.
Most fruits, tomatoes included, are considered high-acid, and since they're usually packed in sugar syrup, you're able to can them in a water bath canner, rather than having to drag out your pressure canner. This is also true of pickles, because the added vinegar and salt makes them high-acid regardless of what fruit or vegetable you happen to be pickling. Here is a link to the MSU guidelines for processing times for canning fruits, vegetables, and meats. I have my own ideas about processing times, so I'm going to let this website be your official guide. Water boils at a lower temperature at high altitudes, so there's also a chart included that will help you to make time adjustments for your altitude. I use the same processing times for cold pack as they do for hot pack.
http://msuextension.org/publications/HomeHealthandFamily/MT198329HR.pdf
Place the flat lids on the jars, and then tighten the rings down over them. Rings should be just "fingertip tight", not cranked down as hard as possible. Now place the jars in the rack inside your water bath canner, and then fill the canner with hot water until the jars are covered by about 2 inches. You may want to do this on the stove top and use a pitcher to fill the canner, because it will be REALLY heavy to lift out of the sink once it's filled. Place the lid on the canner and turn the heat on high. Keep an eye on the water, and wait for it to reach a full, rolling boil. Once the boil has been reached, turn the heat down a little, but make sure that it is still actively boiling, and then set your timer. DO NOT START COUNTING THE MINUTES UNTIL THE WATER HAS REACHED A FULL BOIL.
Once the jars have been in the canner for the appointed amount of time, turn off the heat and wait for the boiling to stop. IMMEDIATELY remove the jars from the hot water using your jar puller. Pull them straight up out of the water, tilting as little as possible. They should be placed at least 1 inch apart, on a thick dish towel, or on a wooden cutting board to minimize the shock that the jars would experience if they were placed directly on cold Formica or granite counter tops. They should also be put in a place that is away from drafts - never set your jars right in front of a blowing air conditioner or open window. You don't want them to crack. Let the jars sit undisturbed for a couple of minutes, then tighten the rings down firmly. (Protect your hands, the jars will be very hot.) Leave them undisturbed until they cool thoroughly. During the cooling period you will actually be able to hear the jars seal. They make a lovely little "ping" sound as the vacuum is created!

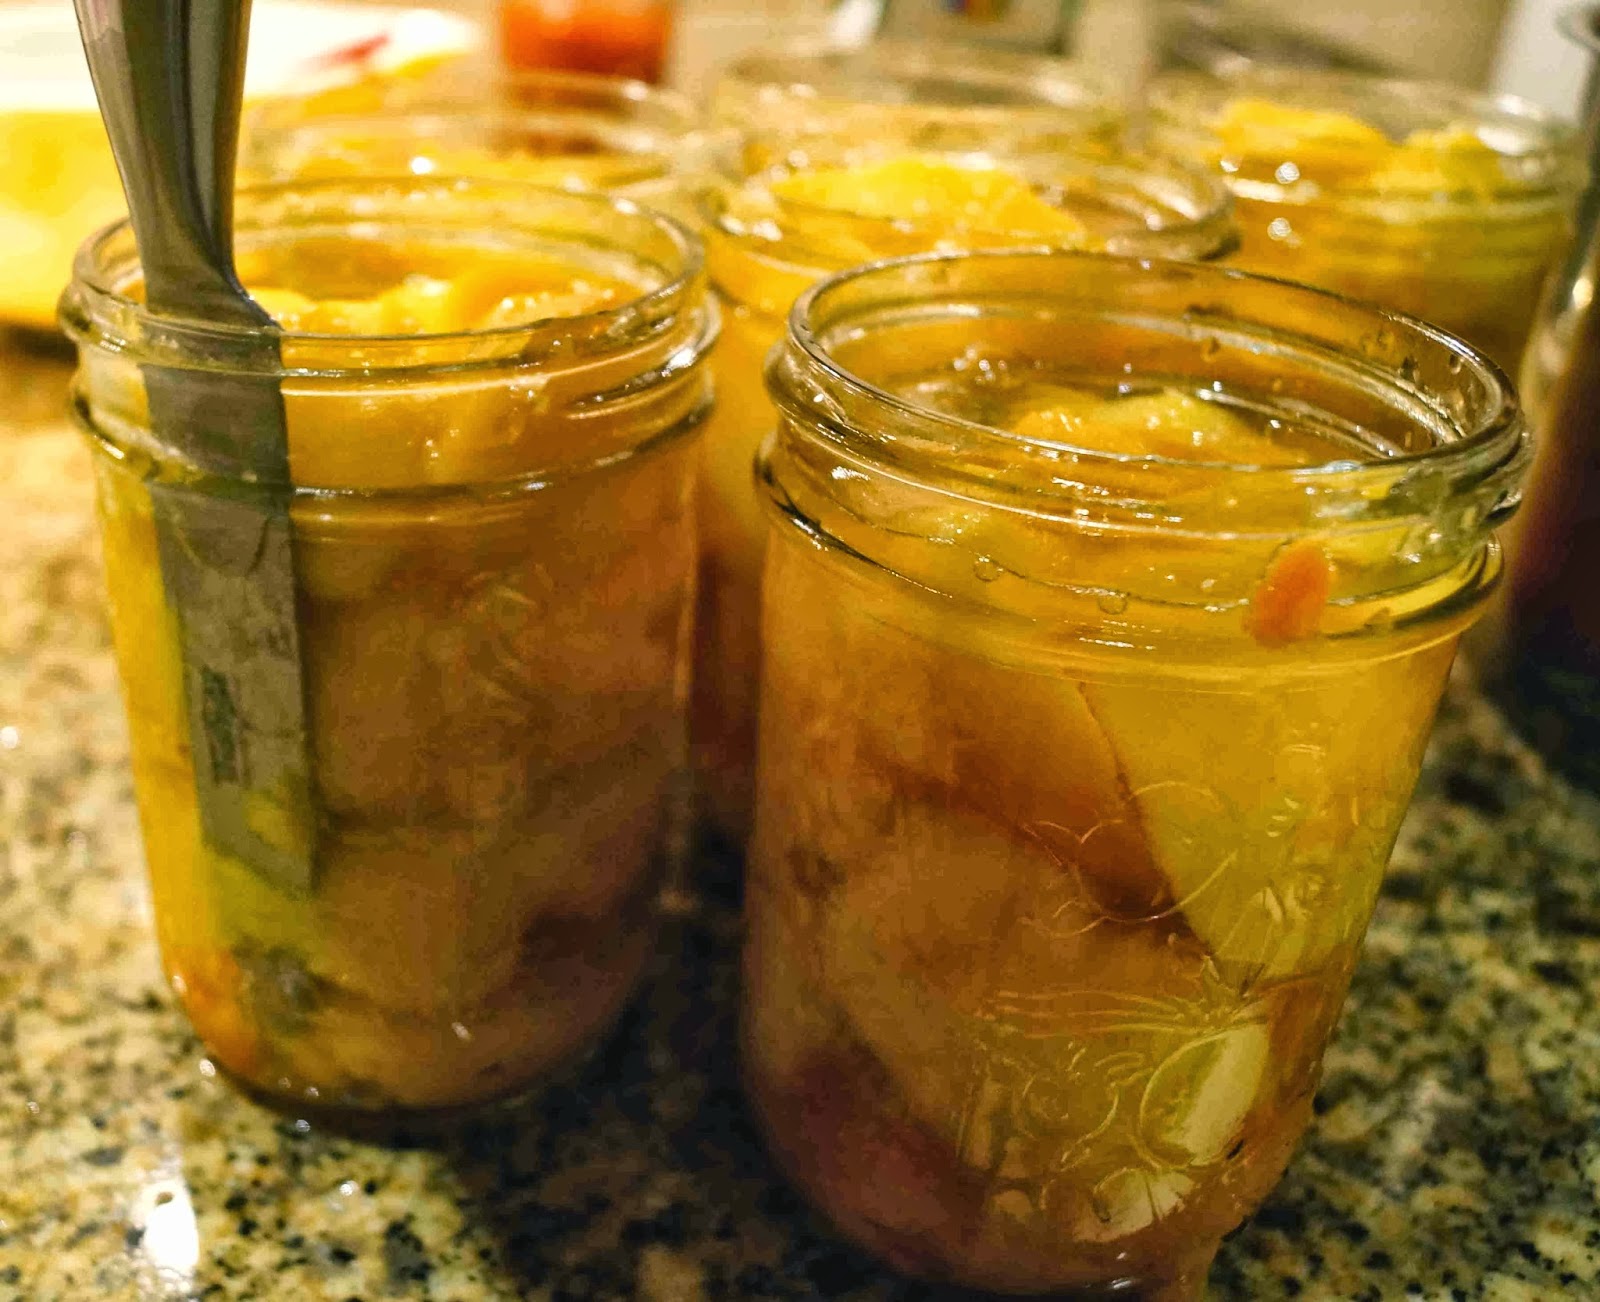
Your finished product will look a little different when it comes out than it did when it was going in. The fruit will shrink a little bit in size and float up some because of the cooking process. Here is how they will look when they come out:

When the jars have cooled COMPLETELY, test the seal by pushing gently in the center of the lid. If the jar is sealed there will be no movement when you push, if the jar is not sealed the center of the lid will pop up and down. If you have unsealed jars you can then place them in the fridge for eating in the next day or two, or you can remove the ring and lid, clean the rim and threads, put a new flat lid and a ring back on, and try to process it again. (Going through the canner twice may make the product a little mushy, though.) For all of the jars that sealed properly, (which should be most or all of them), remove the rings and gently wash the jar and the threads in warm water and then dry them off. You can actually store them without putting the rings back on, and many people say that this is the way that they're supposed to be stored. I read everywhere that it wont have any effect on the lids remaining sealed, but I'm kind of superstitions about it, so I wash the rings and return them to the jars. It's best to store your canned products in a cool, dry place, away from excessive sunlight. Shelves in your basement are ideal, just as long as it doesn't freeze down there. Or you can put them on shelves in the pantry.
No comments:
Post a Comment